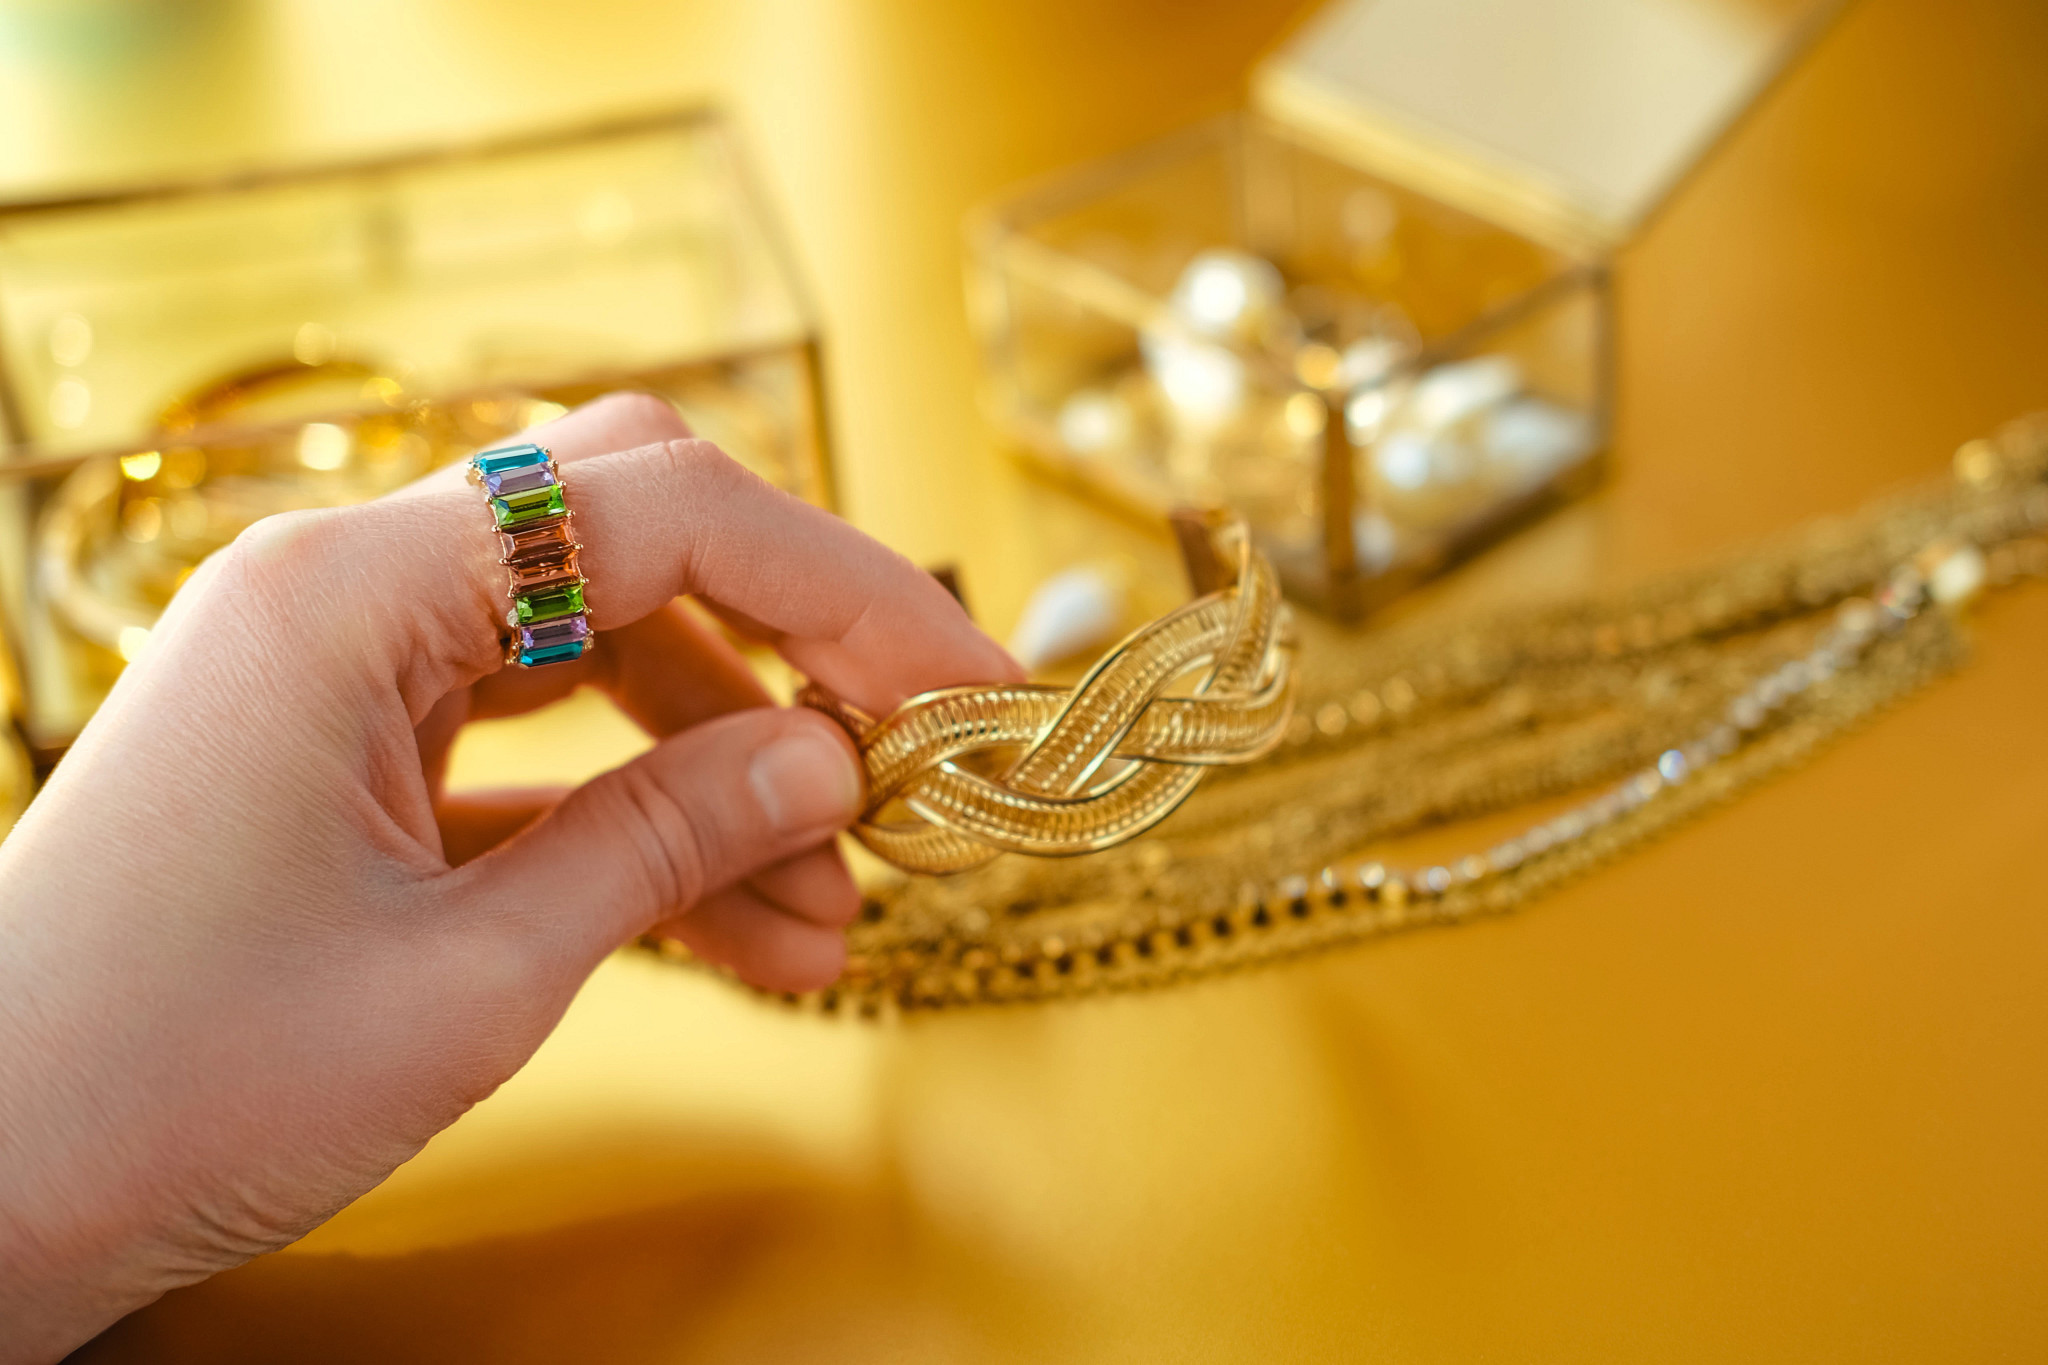
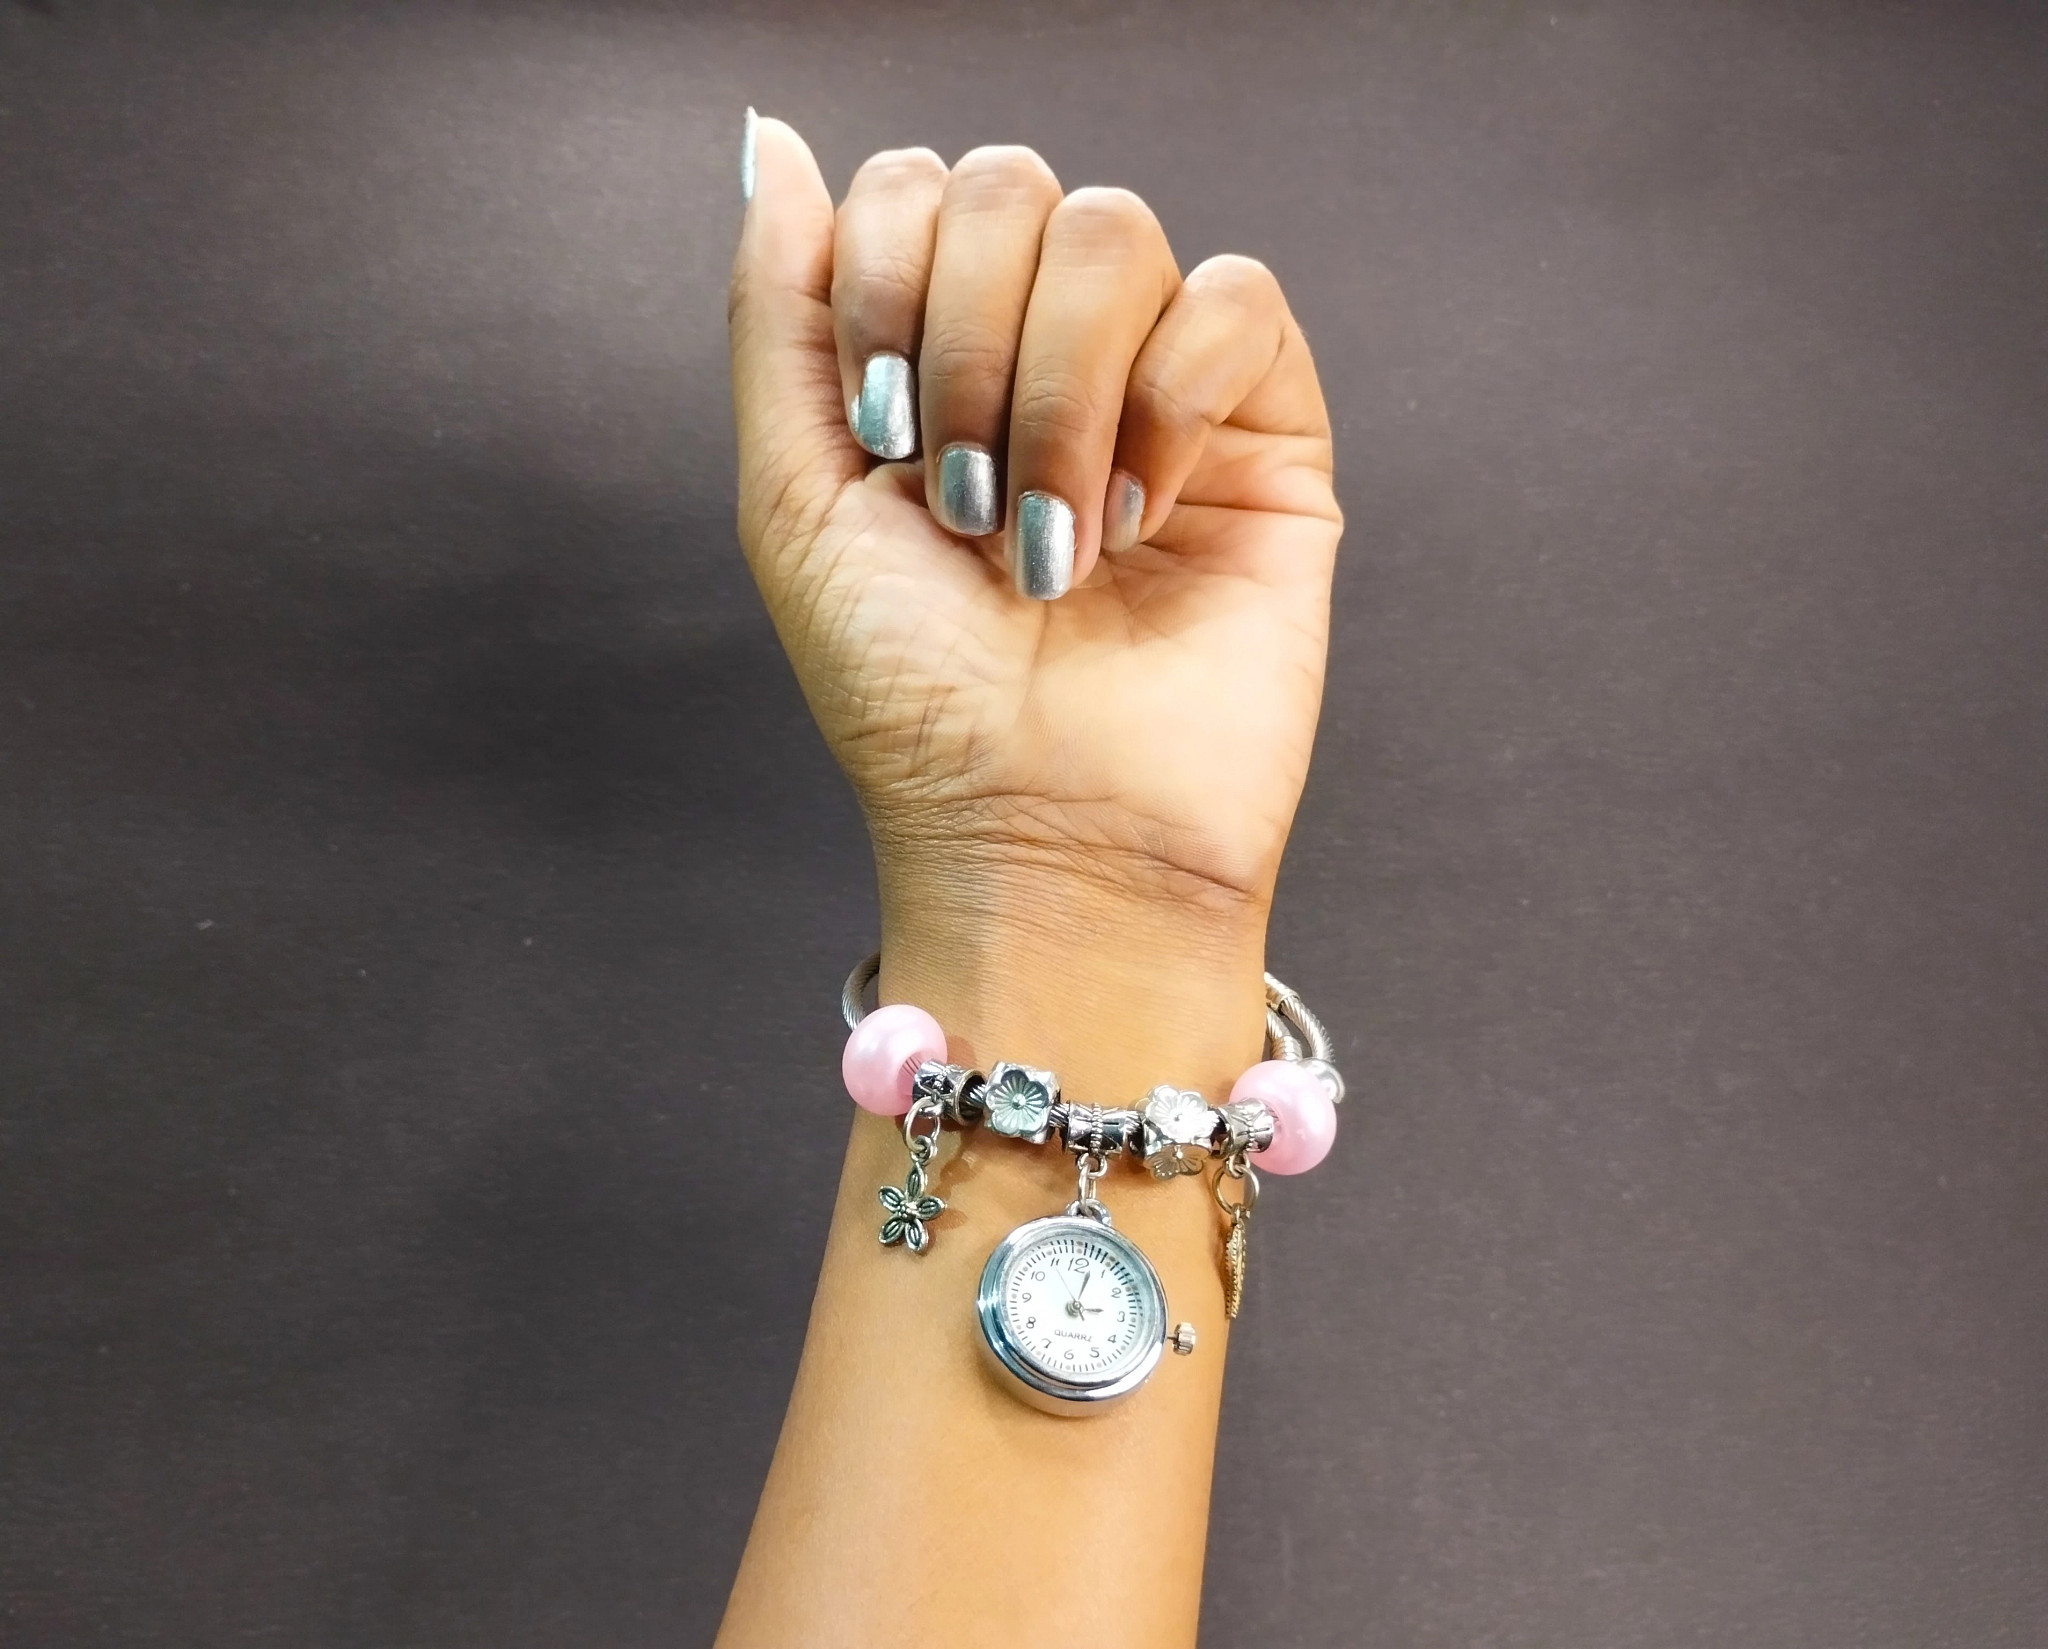
Certain tasks are just easier with more than one person: zipping up a zipper on the back of anything, applying sunscreen to your back, and, in the jewelry world, putting a bracelet on by yourself! To prevent you from knocking on your neighbor’s door each morning for help, consider these beginner-friendly, tool-based and product-based solutions for doing this a little more easily next time.
Top methods to fasten a bracelet alone
Create a makeshift handle
The following technique for putting a bracelet on yourself uses a household item to create a handle that allows you to more easily secure one of the bracelet’s ends while putting it on. While this method can utilize various household items, sturdy items, such as a paper clip or a bobby pin, are recommended.
Attach your household item to the bracelet
Take a paper clip or bobby pin and loop it onto your bracelet’s jump ring (opposite the clasp). The jump ring should sit in the bend of the bobby pin or paper clip.
Stabilize the bracelet
With your palm face up, place the paper clip or bobby pin in the palm of your hand with the bent or closed part closest to your wrist. Now close your hand to secure the other (open) end of the paper clip or bobby pin between your fingers and palm. You will now be holding your tool in place, placing the bracelet’s jump ring (which is laced through the bend of the paper clip or bobby pin) near your wrist, where it belongs. It is easiest to use the hand that the bracelet is going on to hold this makeshift handle in place while you work the clasp with your other hand.
Wrap and clasp
Grab the end of the bracelet with the clasp and wrap it around your wrist, guiding the clasp toward the jump ring. Chasing down the jump ring where the clasp connects is usually a hassle when putting on a bracelet by yourself because it tends to move or slip off your wrist when you pull the clasp toward it. Using this tool, however, if you hold it steady, the paper clip or bobby pin will keep the end ring in one place against the underside of your wrist, making it easier to connect the clasp.
Remove the paper clip or bobby pin
Once the clasp is fastened, gently remove the makeshift handle you used, and your bracelet is now on and ready to wear.
Secure one end with tape or a hair tie
This method holds one end of your bracelet in place so you can connect the clasp with your other hand. You can use jewelry-safe tape to temporarily secure the jump ring to your wrist or place a hair tie around your wrist and tuck one or both bracelet ends underneath it.
PLEASE NOTE: Some adhesives can cause damage to certain types of jewelry with sticky residue or chemical reactions. If you plan to use this method, you should always use jewelry-specific tape to avoid damage. This method can also be accomplished by placing a hair tie around your wrist like a bracelet and tucking one or both ends of your bracelet under the hair tie. This will allow you to bring both ends together on the same side of your wrist and successfully clasp the bracelet on your wrist without having a bracelet end slip away from you. Once you’ve successfully married the clasp and jump ring, remove the hair tie (or tape), and you are all set!
Buy a bracelet-fastening tool
If you frequently struggle with putting on bracelets, you might consider investing in a specialized bracelet tool. These “bracelet helper” or “bracelet fastener” tools are designed to hold the end ring in place while you fasten the clasp, just like the household items did in the prior methods. And while household items usually do the trick, these tools are made specifically for this task. Jewelry stores and online retailers are great places to search for these useful tools.
How to master putting a bracelet on by yourself
- • Practice, practice, practice. You might be frustrated the first time you try one of these methods. Even with the best tools, holding a bracelet clasp in place can challenge even the most coordinated jewelry lovers. Be patient with yourself. With each use, you’re bound to get better and better. Before you know it, you’ll be a pro!
• Try several methods to find the one that works best for you. Similarly, the first method you use may not be best for you or your particular bracelet. Experiment with the options listed above to determine the best method that works for you. If you just can’t seem to navigate the bobby-pin method, take a deep breath and give the hair tie option a try. If all else fails, take the plunge and consider purchasing the bracelet helper tool as a last resort.
• Don’t rush. Bracelet clasps can be tricky! You want to be sure before you head out the door that your bracelet is secured so you don’t risk losing it.
Protect the bracelets you love most with jewelry insurance
If you enjoy wearing bracelets and own valuable pieces, consider protecting them with personal jewelry insurance from Jewelers Mutual. Coverage includes loss, damage, and disappearance, helping give you peace of mind.